
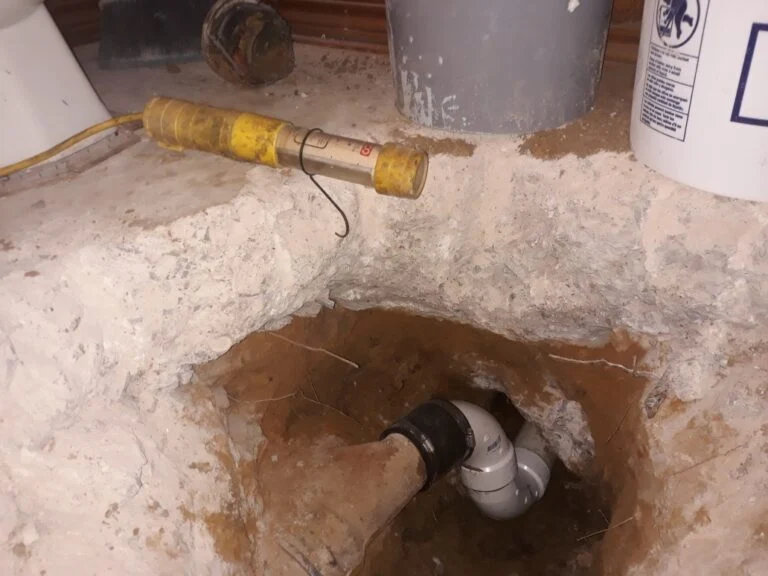
We got a call from a Burleson homeowner who’d noticed unexplained water near the exterior of their house. The lawn was wet in a spot that had no business being wet, the water bill was creeping up, and they were starting to suspect a slab leak.
This is a typical slab leak story — the symptoms looked minor at first, but the underlying problem was a broken drain pipe under the exterior foundation. Here’s how we located it, tunneled under to reach it, and made the repair.
The Call & Initial Diagnosis
The homeowner had three symptoms that pointed to a slab leak:
- Wet ground outside near the foundation
- Higher-than-usual water bill (about 30% above baseline)
- A faint sewer smell near one exterior wall
After a walk-through, we suspected a broken drain line rather than a supply line. Supply line leaks usually show up as constant moisture and rising water bills proportional to the leak rate. Drain line breaks show up more intermittently — water only escapes when the drain is being used — but the smell often gives them away.
For this job, we ran our locating equipment along the suspected drain path. The break was right under the exterior edge of the foundation, where the drain line exits the slab on its way to the main sewer.
Why an Edge Leak Was Good News
A slab leak under the exterior edge of the foundation is one of the easier types to repair compared to a leak in the middle of the slab. Here’s why:
- Mid-slab leaks require either jackhammering through the slab from inside the home or rerouting the line entirely
- Edge leaks can usually be reached by tunneling from the outside
For this Burleson repair, we dug a tunnel from outside the house, under the edge of the foundation, until we exposed the broken section of drain pipe.
Tunneling is dusty, dirty work — but it has a huge advantage over breaking the slab from inside: we don’t tear up your finished floors.
Protecting the Home During Repair
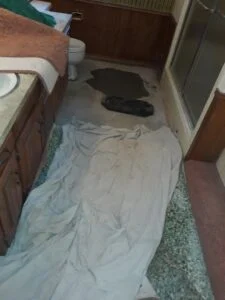
Even on tunneling jobs, we still need to access the interior at some points — checking the line on the inside of the wall, verifying the repair, or sometimes patching where the drain comes through the slab. Whenever we work inside, we tarp the floors completely and use wet towels at high-traffic transition points to catch debris.
This is one of the most underrated parts of slab leak work. The repair itself is straightforward; protecting your home during the work is what separates a good job from a bad one.
Replacing the Broken Drain Pipe
Once the tunnel was open and the broken section exposed, we:
- Cut out the damaged section cleanly on both ends
- Cleared debris and roots from the trench (tree roots are a common contributing cause of drain line breaks)
- Installed new pipe matched to the existing material — PVC sewer pipe in this case
- Sealed the joints with appropriate primer and cement, allowed proper cure time
- Pressure-tested the repair before backfilling
- Re-graded the soil to prevent future water accumulation against the foundation
The pipe itself was the easy part. Getting access to it was 80% of the labor.
Re-Pouring the Concrete
After the pipe was repaired and tested, we filled the tunnel back in and re-poured the concrete in the affected area outside.
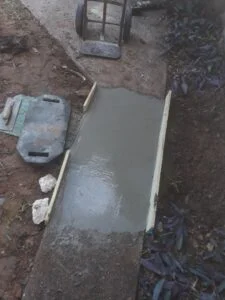
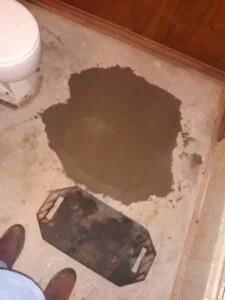
Where we needed limited access from inside the home, we re-poured a small concrete patch there too. Once cured and finished, the only sign the work happened is a slightly different color in the patch — and that fades over time.
Why This Job Mattered
Slab leaks aren’t just a plumbing problem — they’re a foundation problem if you ignore them. Water under a slab can:
- Erode the soil supporting the foundation, causing settling
- Saturate the slab itself, weakening it over time
- Lead to mold and mildew issues inside the home
- Corrode the rebar inside the concrete
This homeowner caught their slab leak early. By the time most people notice the symptoms, the water has been escaping for weeks or months. The longer you wait, the more expensive the total repair gets — foundation work plus plumbing.
Signs You Might Have a Slab Leak
Common symptoms that warrant a slab leak inspection:
- Unexplained spike in your water bill
- Wet spots on floors or carpet with no obvious source
- Warm spots on the floor (hot water line leak)
- Sound of running water when no fixtures are on
- Mildew smell or unexplained dampness
- Cracks forming in walls or floors near the foundation
- Wet ground outside near the foundation, like this case
If you’ve got any of these, get it checked. Slab leaks don’t fix themselves, and the cost only climbs the longer you wait.
How Much Does Burleson Slab Leak Repair Cost?
It depends on:
- Where the leak is (edge of slab vs middle)
- Whether it’s a supply line or drain line
- Whether tunneling is possible or jackhammering is required
- Whether the line can be spot-repaired or needs a full reroute
Phone estimate is free. We can usually give you a cost range once we know your symptoms and have a rough sense of where the leak is.
A Word From Don
Slab leaks are our specialty — and they’re the kind of job where experience makes a real cost difference. The wrong diagnosis or the wrong repair approach can turn a $3,000 job into a $10,000 one. After 40 years in Burleson, we know what to look for, how to locate accurately, and which repair approach saves you the most money.
If you suspect a slab leak — wet spots, high bill, warm floors, anything — give us a call. We’ll talk through your symptoms over the phone before anyone schedules anything.
— Don, Dependable Plumbing · Slab leak detection service · Hot water slab leak guide